


Mateo's 1st Birthday
- Hannah Baldovinos

- May 31, 2022
- 2 min read

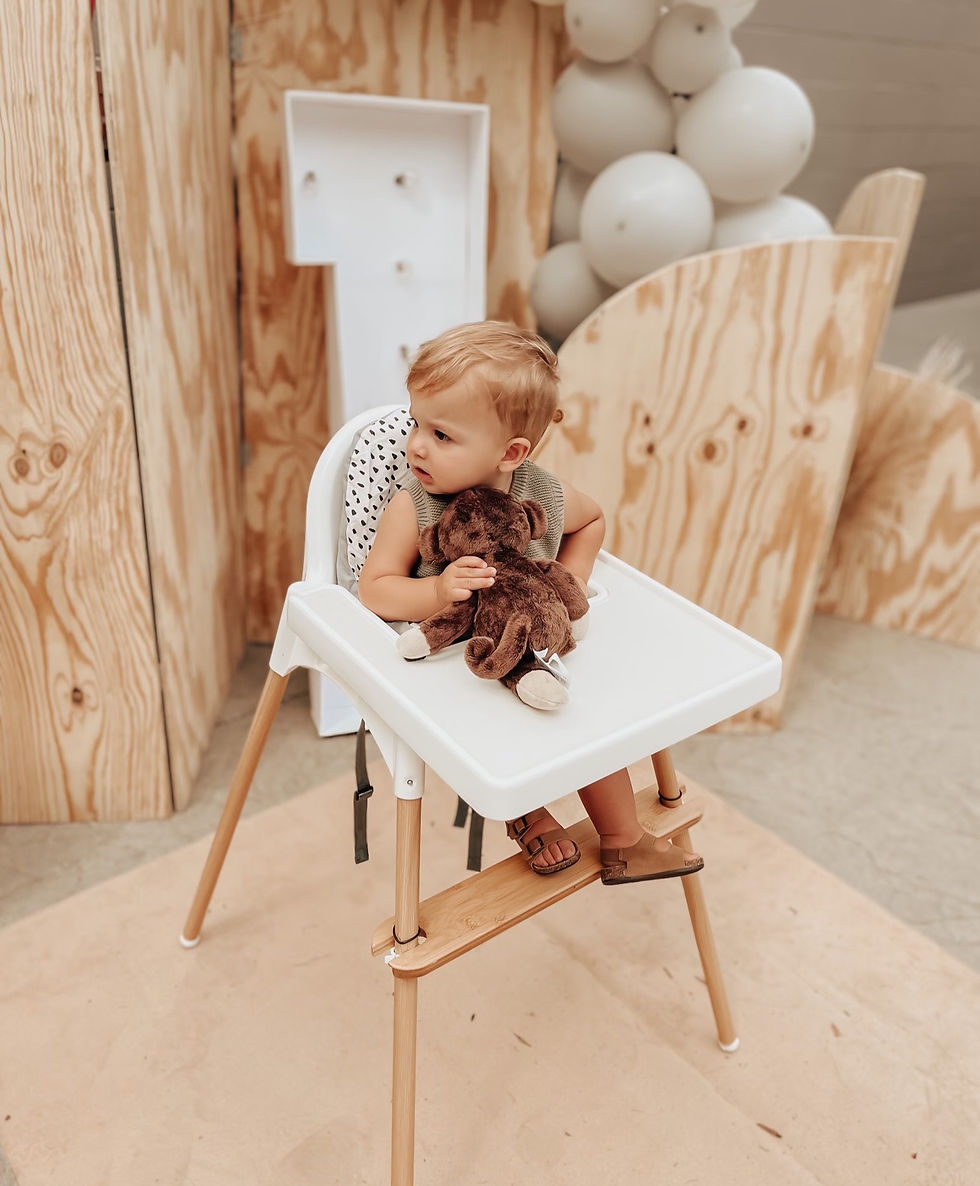
Our little boy turned 1 on May 24, the theme for his birthday was "Wild One." Almost everything we did for it was diy, including the backdrop. Who knew planning a birthday party for a one year old was so complex haha. The birthday ended up being so fun, but very windy, the balloons would not stay on the backdrop but we managed to get a few pics before everything fell apart. Even though it didn't go quite as planned, I had so much fun putting my heart into it and working hard to make it as "perfect" as it could be. A little fun fact about me is that I love to plan parties, I go above and beyond because I want it to be unique, fun, and its a way for me to express my creativity.
DIY Arched Backdrop
What you will need:
3 pieces of 4x8 1/2" sanded plywood cut in half (Home Depot will do it for you if you ask)
Jigsaw
Sander
Sand Paper (80 + 220)
Paint (if you want, we left ours natural wood)
Door hinges (I recommend getting around 16)
1/2 " Flathead screws
String
HOW TO:
Using a string attach a nail to the center of the board and draw your arch, there's no right or wrong way to do this, just make the arch look how you want.
Using the jigsaw cut out your shape carefully. Make sure to wear safety goggles or glasses.
Once you have cut 1, use it as your base for the rest of your arches. Place it on top of the other full length pieces of wood and trace it. Repeat until all the arches are traced and cut.
Cut them from the bottom to the length you want, we winged this part.
SAND! Use your 80 grit paper to sand the backdrop, sand with 220 to get a smooth finish.
Paint (if leaving natural wood like us, skip this step and move to #7)
Assembly time! Gather your panels and lay them out how you want.
Add the hinges. If you're wanting it to fold you will need to do some hinges on the front and some on the back. Make sure to use the 1/2" screws you purchased not the ones that came with the hinges because otherwise it will go right through your backdrop.
DIY Monthly Milestone Photo Wall
wooden milestone discs (can get on amazon)
12 photos printed off from each month of your baby
Name puzzle pieces (busy puzzle is where we got ours)
1 piece of 2x4 sanded plywood

HOW TO:
Tape name puzzle pieces on top of board
Tape wooden milestone disc on (4 across, 3 down)
Tape photos on right under milestone discs
It's that easy!


Comments